Tune up Klipfolio with Cervinodata
Klipfolio becomes even more powerful when combining it with the data storage and data preparation features of Cervinodata. This page offers a step-by-step instruction to connect Cervinodata to Klipfolio.
Key benefits for Klipfolio users
- No need to add datasources when you add new websites or AdWords accounts
- No need do adjust formula's when you add new websites or AdWords accounts
- No need to combine datasources in the formula editor when calculating numbers from multiple website or across AdWords accounts.
Cervinodata
- Stores your Google Analytics & advertising data securely for longer history
- Combines multiple Google Analytics views & AdWords accounts into one data set
- Adds targets, budgets and other context to your data (coming soon)
- Groups Campaigns from multiple advertising channels together into a Cross-channel campaign performance data set (coming soon)
Data sets currently available in Cervinodata for Klipfolio
- Multiple Google Analytics views ecommerce data per day or per month
- Multiple Google AdWords accounts performance on account & campaign level. data per day or per mont
- New data sets and other features coming soon.
How to connect Cervinodata to Klipfolio?
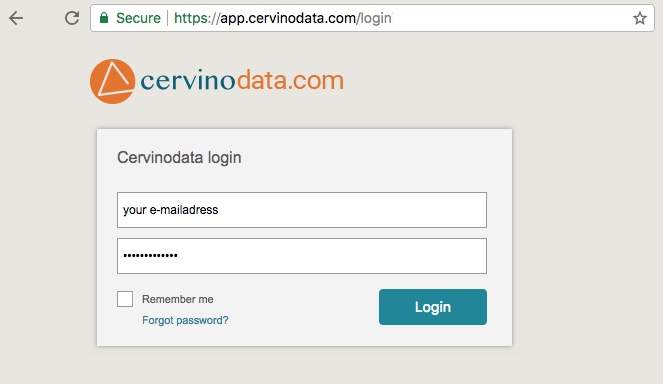
Step 1: Sign into your Cervinodata account
(If you do not have a Cervinodata account get one here)
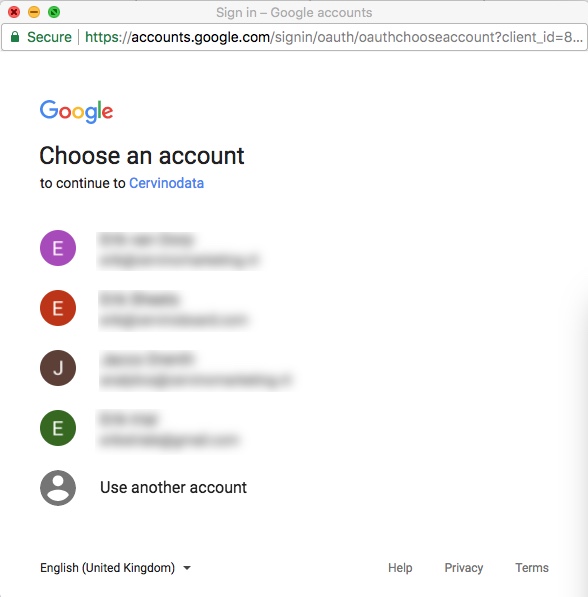
Step 2: Connect Cervinodata to your channels
For each of the channels and accounts you wish to report on, Cervinodata needs access. Inside the ControlCenter just follow a few simple step-by-step instructions to provide access.
Step 3: Configure data feed
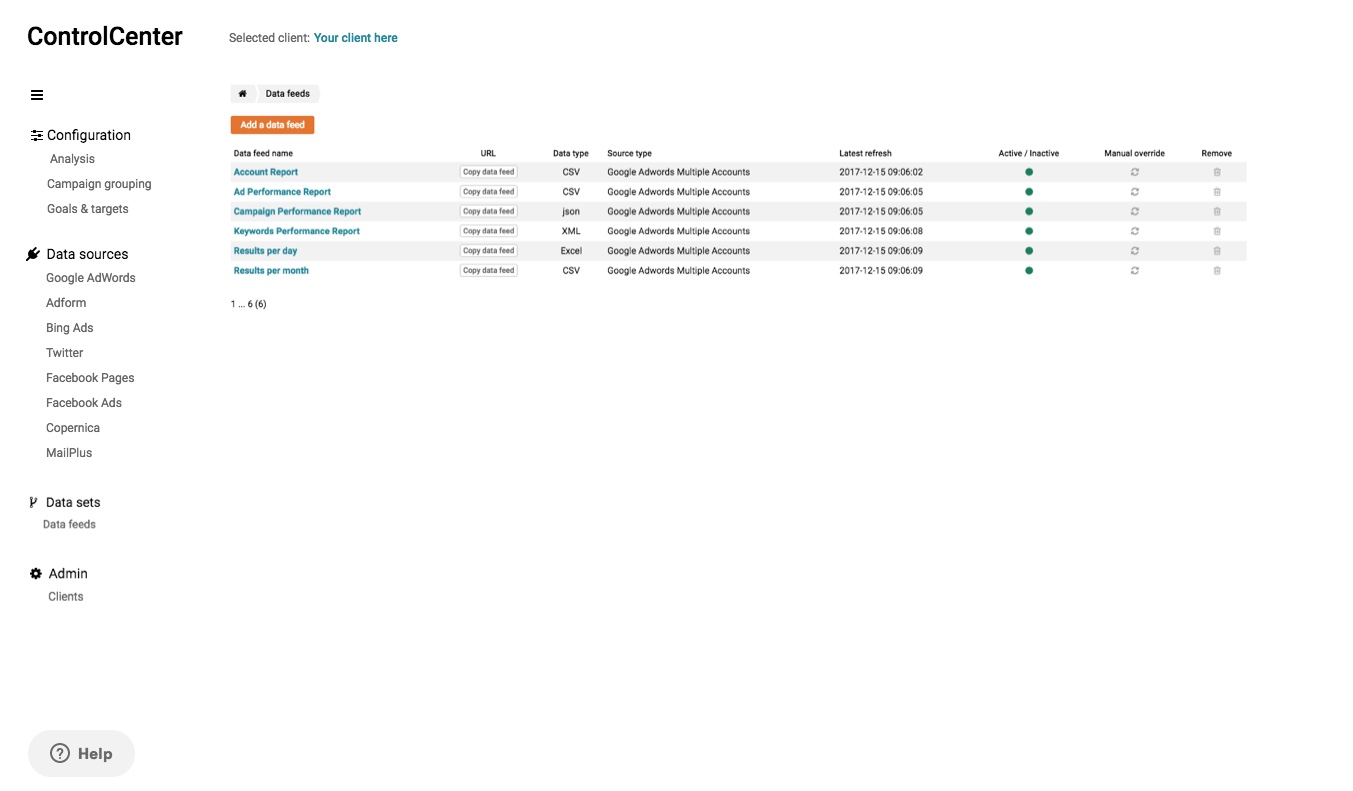
Use the ControlCenter to configure the data feed to fit your need and choose your format
- CSV
- XML
- JSON
- Excel
Step 4: Copy your data feed
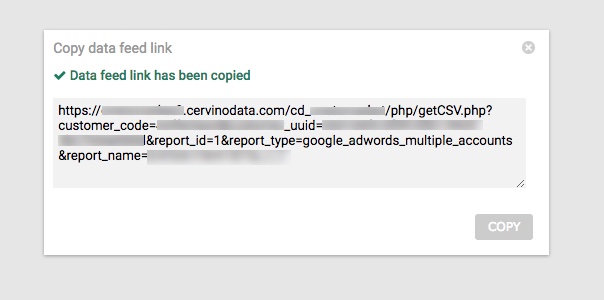
Choose the data feed from the list and copy the data feed link.
Step 5: Paste data set
(this step assumes you have a Klipfolio account, if you do not have a Klipfolio account, get one here)
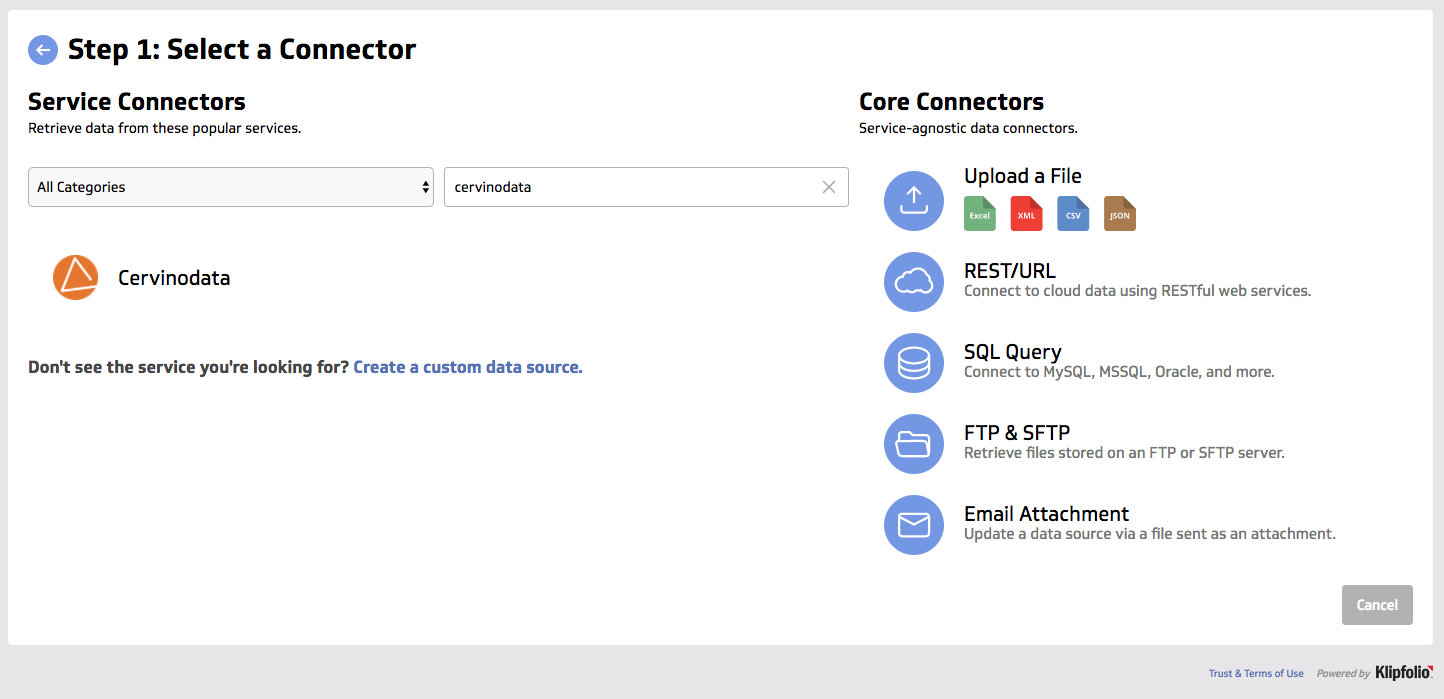
- Select the Cervinodata service from the Klipfolio Connector Gallery
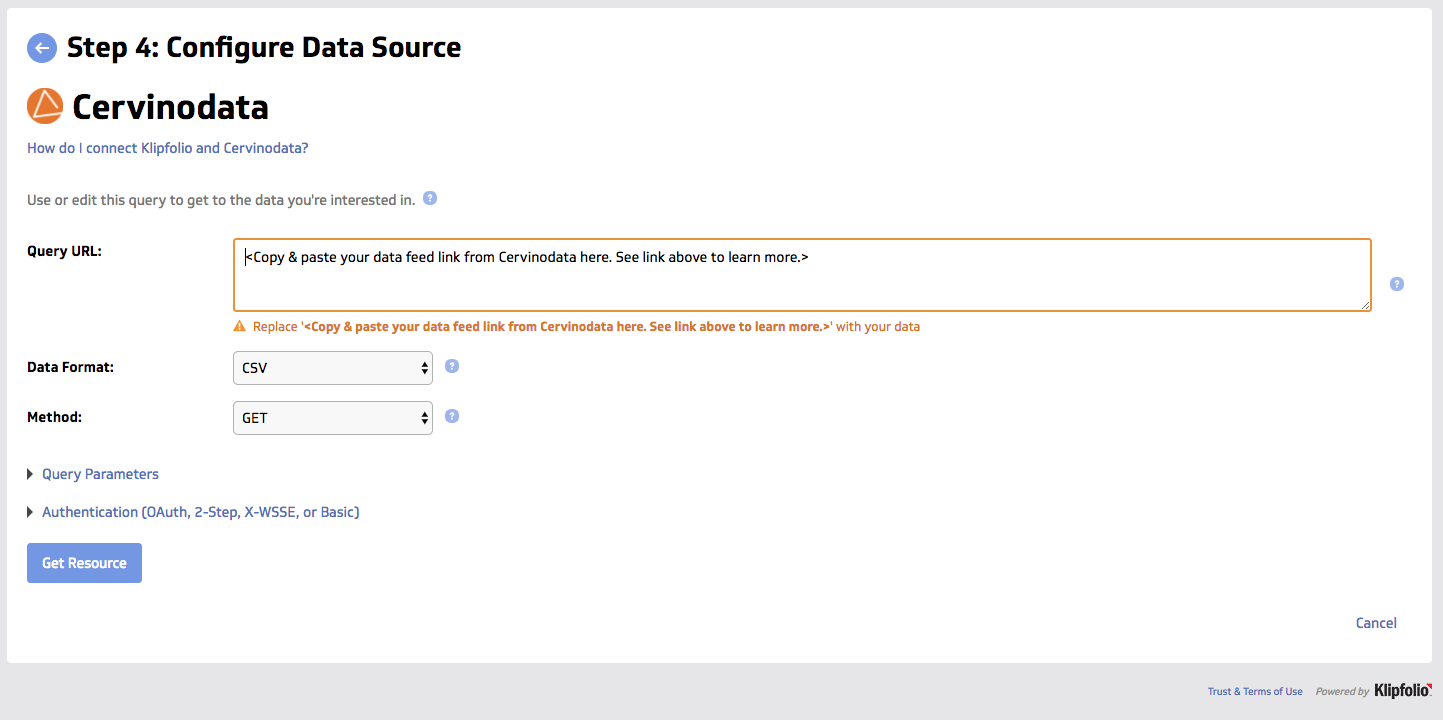
- Paste your URL into the Query URL input field
- Make sure the Data Format corresponds to the format chosen in Step 3.
- Click Get Resource and save.
Need support?
Get in touch with our support team. They are more than happy to help you get started.
